Pages - Menu

Showing posts with label wet plate collodion. Show all posts

Monday, March 25, 2013

Making a Replacement Ground Glass


         I am always shooting in the field, and with that comes wind, rain, and sometimes just bad luck. Awhile back my camera hit the ground and sustained some injuries including the inside housing for the lens board and the ground glass cracked. Due to time constraints I did not have time to make a new ground glass, but today was the day! Went to Michael's and bought some of Ms. Martha Stewart's transluscent frost paint. I thought I could easily apply it with a brush WRONG! Luckily the paint easily washed off with a light scrubbing and soap. It took me several times to paint the frost on before I thought of another idea. I decided to add water to the paint, and then heat it up for 10 seconds in the microwave, (only 10 seconds! No more because it will cook the paint). When I had the paint and the water completely mixed I poured it on the clean ground glass plate just like collodion. I rocked the plate and had it flow evenly all over the ground glass, and for the couple of pin size air bubbles I had my razor blade to pop them. I drained the left over "emulsion" into a plastic cup and let the plate dry in the sun, (water evaporating), for about an hour and then I baked it for 30 minutes at 350 degrees Fahrenheit, turned off the oven and let the plates sit in the oven for another 30 minutes. It was really simple and could have been done in 20 minutes had I come up with the water and paint idea in the first place. Now I know and now have two perfect ground glasses.


Broken ground glass


Purchased the Frost paint at Michael's regular price $7.99, but had 40% coupon.

Glass from Home Depot around $8.00
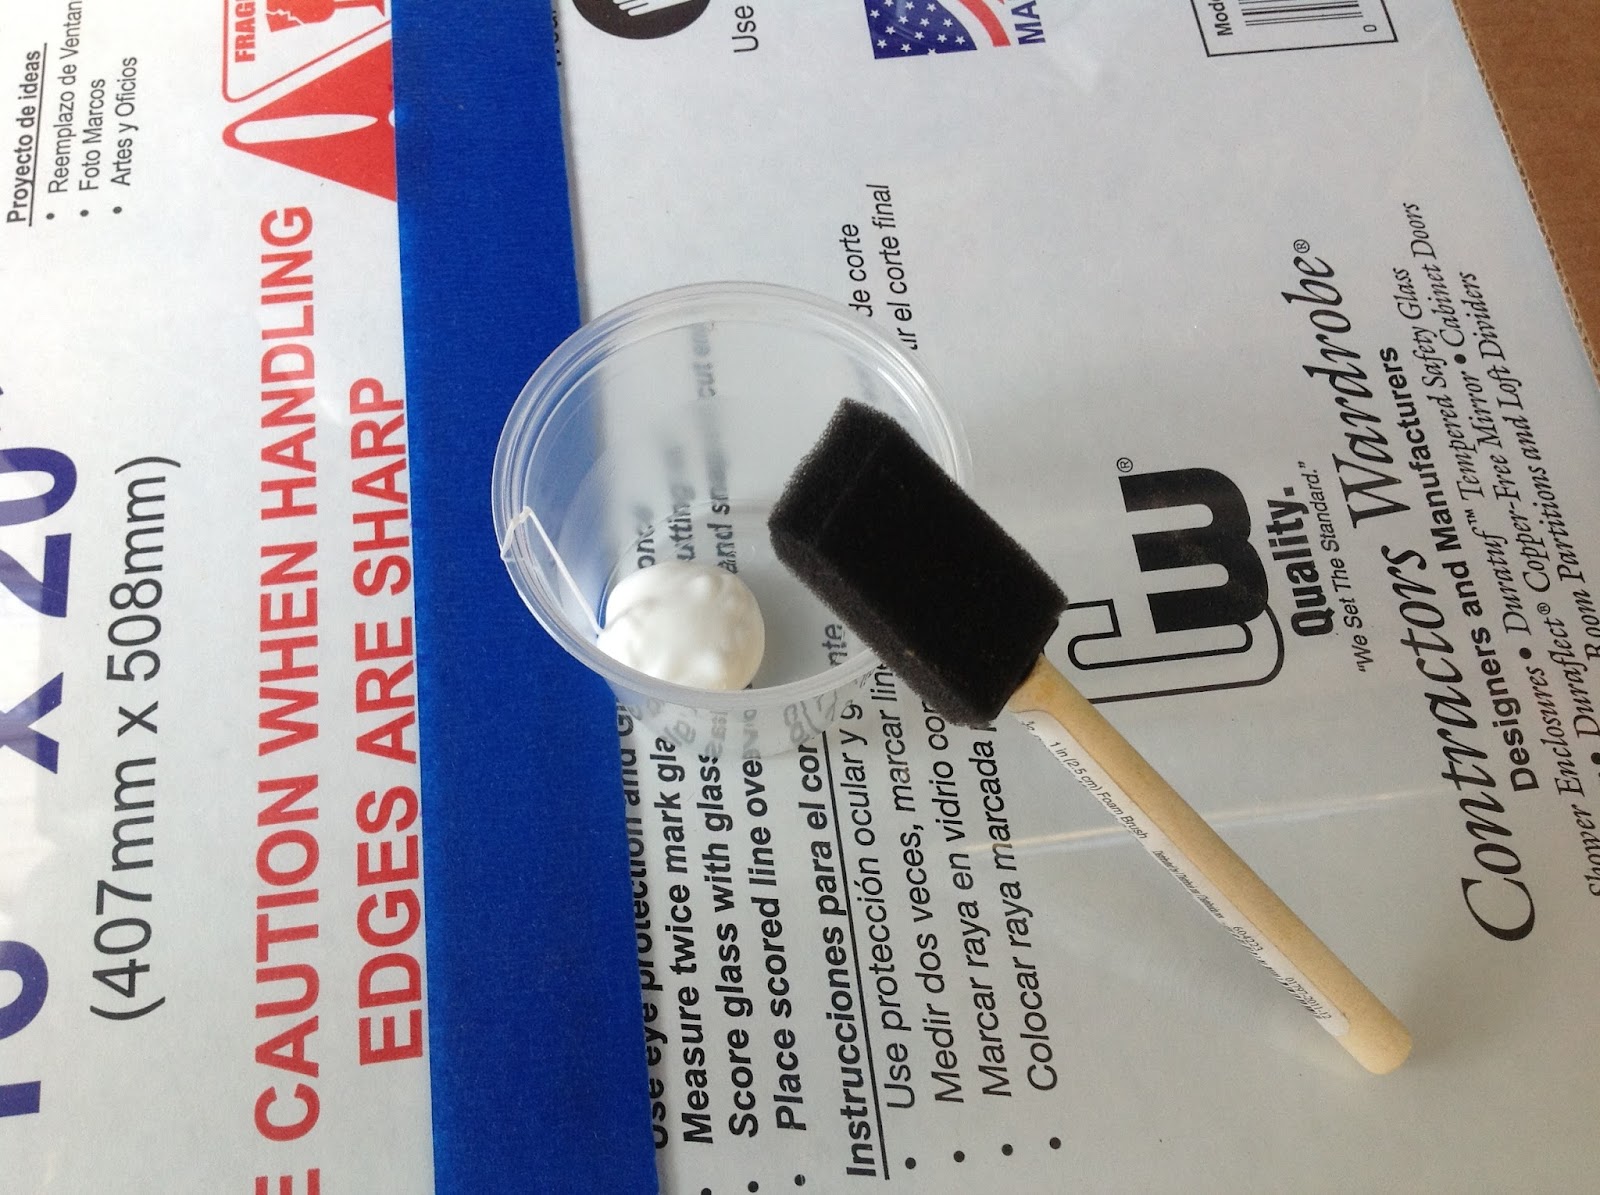

The directions really did not clarify how to apply this stuff so I assumed a sponge would work

To save some glass I created a line using painters tape 


Brushed on two coats and found it was to thick and I hated the lines it left


I left text under the glass to check to see how much "frost" I would get. The paint dried relatively fast and was hard to get rid of the brush strokes.


Comparing the old ground glass to the frosted paint stroke glass

Cut the glass in half, I probably should have done that first


I was getting frustrated with the lines so I started to cut out two ground glass pieces and just experiment from there


While still using the sponge I used the blue tape to prevent paint from getting on the back . I then went and washed off this paint and came up with the "flowing" idea.


Here is how the paint and water mixture looked. Notice 100% liquid, make sure there is no dust or contamination otherwise it will end up on your ground glass


Not to bad, let it dry in the sun and this is the even frost I got.


Into the oven


Out of the oven


Had to trace my plate sizes sixth, quarter, and half


Broken ground glass and the two brand new ones! Now I have a back up just in case Mother Nature throws my camera again


Before I installed the ground glass I used a matte fixative to make sure the pencil marks do not smear. This prevents the chemicals from removing the pencil marks, just a back up in case.


Installed and ready to go!


Monday, January 14, 2013

Lens mounting

    When mounting a lens flange in preparation for use you need to make sure there are no light leaks. Light can seep in through the lens flange and your images will be fogged. Here is a cheap and quick photo illustration of how I make sure my lenses fit nice and snug against the lens board.


    At your local hardware you can pick up sheets of rubber this one was $5.00. At Dale McFaddens they sell rubbers already cut to size, and you can take your lens and usually find the perfect fit. I used the rubber because the hardware store is down the street.

    You will need screws and nuts to hold the flange tightly to the board. Take your lens board and flange to your hardware store and buy the screw that will fit in the holes. You will also need to pre-dremel holes into the lens mount so you can easily fit the screws in place.


   Cut the rubber to size, dremel holes into the wood, and screw in the screws and apply the nuts and you are ready to go!


Since lenses are worth so much now a days it is best to make sure everything is on tight and securely. The rubber was only $5.00 and I can use it for two other lenses I have and the screws and nuts were only a $1.00.  Simple solution that will save you a headache in the future.


Website 95% Complete!

  It has been a long week getting this website done. I just need to finish one more section for the Cases and then it will be 100% done. ENJOY


Home page


Portfolio


Calendar for 2013


Pricing
  

Friday, January 11, 2013

Web Design Contact Information Update

     For the new year I wanted to have a brand new website to reflect  my work. I use the ViewBook template and it is very constricting. There is not much advanced editing one can do. I would change the server, but the price was not to bad and my contract is until 2014. I contacted several people in regards to doing design and branding, (just for fun). I am so thankful I am Illustrator savvy because they wanted thousands and thousands of dollars! Seriously I do not know how other people tolerate such high design cost. I am thankful my aesthetic is simple and does not involve FLASH. 
    None the less I have almost completed the re-design. I hope you enjoy!


Thursday, December 13, 2012

Cabinet cards, CDVS, and Tintypes

       I have such a hoarding tendency when it comes to old images. I absolutely love collecting cabinet cards and any abandoned tintype I can find.  I try to go to swap meets as often as possible and anytime I see a poor tintype baking in the hot sun I must own it. I do not know why the vendors insist on having their images in direct sun! Drives me absolutely nuts! Below I have scanned some of my favorite images. I have also included the back designs of some of the cards and one even includes a tax stamp.


Saved this image from the sun. They have faint pink cheeks that were hand colored.

    Love this image for the joy of the flowers. I wonder if this was a possible trades photograph, but then again so many woman did not have a job outside their home. Who knows she could have been a socialite with a massive garden. The funnest part of all of these images is imagining the life of the person.

Here eyes are huge and lovely.

    The back of this card has the stamp tax.  The US Government imposed a stamp revenue tax in order to raise money for the Civil War. The original tax was imposed in 1862 on telegrams playing cards and other luxury goods. As the way continued more funds were needed and in 1864 the government passed a tax on all ambrotypes, daguerreotypes, and photographs. The photographer was actually responsible for collecting the tax and showed its proof by placing a stamp on the back of the plate or photograph and dating it. Some photographers were fancy and used certain rubber stamps. The green Washington stamp found on some images was a 3 cent stamp and the blue stamp pictures below was a 2 cent stamp. This is the only tax revenue photograph in my collection and I am so thrilled to have found it! For my photographs I have recently purchased a collection of old stamps and plan on adding the stamps to the back of my plates for my clients.

3 cent stamp for Revenue Tax of 1864


    The embossing on this photograph and the mustache are so cool. I wonder if this images was taken with a camera with nine lenses to produce a gemtype.


  You can see the back of some of the cards. There are other cards I own just because of the back logo design of the photographer. In the middle you can see the George Washington stamp symbolizing the revenue tax. The image on the left is the back of the mustache embossed photo above and the one on the right is of the lady with the large eyes. 

Wednesday, December 12, 2012

Yuma, Arizona January 28th-29th 2013 & Dickens Festival

     Just got back from Vail Lake this weekend in Temecula, CA and I had a great time with all the other sutlers! Made a lot of plates and have been impatiently waiting for them to cure so I can scan and upload the pictures. After asking others which event they recommend next, everyone spoke very highly of the event in Yuma, Arizona. This event is held January 28th-29th and as a birthday gift to myself I am going to back up and head out.
     The Yuma Quartermaster Depot is not only a historic site, but the living history weekend should be awesome! At the event I will be offering sixth, quarter, and half plate portraits in addition to cases accompanying each size. That is right my half cases are almost finished and ready to be sold. I have been working a long time on my cases and can not wait to have them set for January. In addition, soon to be added to the stop will be reproduction union thermoplastic frames. Stay tuned because the store is expanding rapidly and new images will be up shortly.
Charles Dickens

     In addition, for Febryart 2013 I plan to be a vendor at the Dickens Festival in Downtown Riverside on Main Street. Dance classes are being held each Wednesday till February so attendees can brush up on their dancing skills. Next week I plan to attend the lessons for the first time so when it comes time for the ball down I will not have two left feet. You can visit the website for updates and I have included the form to buy tickets to the ball and different events throughout the weekend.
    Now for Dickens and the ball the main question is what to wear? I have been very foruntate to meet some very talented woman and the dresses and supplies they provide to create the most gorgeous gowns make me so envious! If you are ever in need of a ballgown or period correct clothing make sure to check out Victorian Designs by Lily, (Lily is also a milliner and create any hat you desire!), Kansas Mercantile by Shelly Peters, and Truly Victorian.
The "Shelley Ballgown"

Heather McNaughton - Costume Designer
Victorian Designs by Lily: costume designer and milliner

Thursday, November 22, 2012

Moorpark 2012

    Moorpark was the most amazing Civil War Event this year! It was on a huge corn farm and reenactors from all over the west coast. I had a wonderful time and can not wait for Vail Lake Temecula. See you then December 8-9, 2012.


copyright Jessee St. John 2012